


Table of Contents
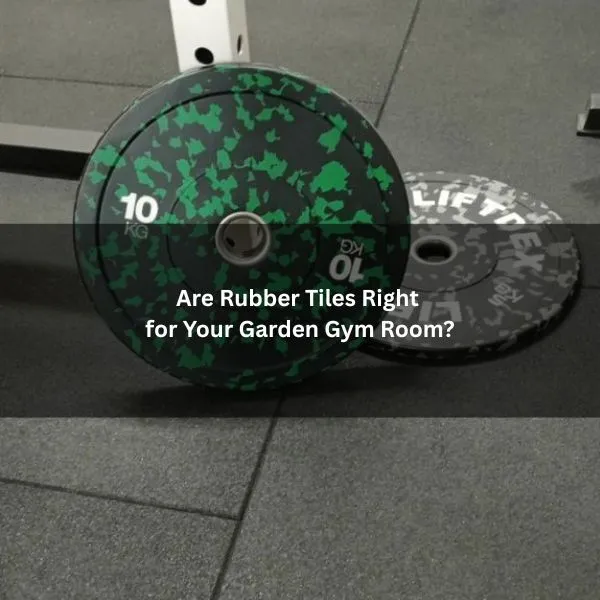
If you’re building a home gym room, the floor is one of the few decisions that affects everything: comfort underfoot, noise and vibration, how confident you feel lifting, how easy it is to keep clean, and whether your subfloor survives years of training. Rubber gym tiles are one of the most popular options in the UK because they’re tough, forgiving, and relatively straightforward to install, but they’re not automatically the best choice for every setup.
By the end, you’ll know when rubber tiles make sense, what to buy (including why 1m x 1m tiles are often the sweet spot), how to clean them properly, and the common mistakes to avoid.
If you’re planning a complete garden gym setup (size, layout, ventilation, heating and electrics), our Garden Gym Room Guide walks you through the full spec from start to finish:
Why Rubber Gym Tiles Work So Well in Home Gyms
Rubber tiles are designed to take a beating. In a home gym, that usually means repeated foot traffic, sweaty sessions, and the occasional bump, drop, or scrape from equipment. Good-quality rubber tiles offer four big advantages:
1) Comfort and joint friendliness
Rubber has a slight “give”, which makes it more comfortable than wood or laminate. If you do any jumping, skipping, kettlebell work, or HIIT, you’ll notice the difference.
2) Grip and confidence
A decent rubber tile provides reliable grip even when your gym is warm and you’re moving quickly. That matters for safety, especially if you’re doing lunges, sled pushes (on appropriate surfaces), or anything where foot placement matters.
3) Noise and vibration reduction
Rubber won’t make your gym silent, but it can significantly cut down impact noise and the vibration that travels through the floor. This is particularly useful in a garden gym room where you want to be considerate of neighbours (and your own household).
4) Practicality
Tiles are modular. If one gets damaged, you can replace a single tile rather than the whole floor. If you ever change the room layout, tiles are forgiving. You can lift them and re-lay them far more easily than glued sheet flooring.
That said, rubber tiles aren’t perfect. Some cheaper tiles smell strongly, some can shrink slightly, and very soft tiles can feel unstable under heavy equipment. The key is matching the tile type and thickness to what you actually do in the gym.
Best Tile Size for Most Setups: 1m x 1m Rubber Gym Tiles
For most home gyms, 1m x 1m rubber tiles are the best all-round size. Here’s why.
Faster installation, fewer joints
Bigger tiles mean fewer seams. Fewer seams look better, feel better underfoot, and reduce the chance of edges lifting over time.
Easier planning and cutting
With 1m squares, it’s easy to calculate coverage and lay out your room. You’ll also tend to make fewer awkward cuts than with smaller interlocking tiles, especially around doorways and corners.
More stable under equipment
Large tiles distribute weight well. Under a squat rack, bench, or cardio machine, a bigger tile is less likely to shift or separate compared with smaller pieces.
Cleaner look in premium spaces
If you’re investing in a proper garden gym room, 1m tiles generally look more “commercial gym” and less “kids’ play mat”. That matters if you want the space to feel like a serious training room.
What about smaller interlocking tiles?
Interlocking tiles can work for light use, but the edges can lift and the pattern can separate under repeated lateral movement. If you’re doing heavy lifts, high-volume workouts, or moving equipment around, you’ll usually prefer solid square tiles over foam-style interlocks.
Thickness guidance (quick and practical):
6–8mm: light training, yoga, stretching, light dumbbells; not ideal for heavy drops
10–15mm: most home gyms with free weights; solid all-round choice
20mm+: higher impact, more noise reduction, better for occasional drops (still not a licence to slam bars)
If you do Olympic lifting or regularly drop loaded barbells, you’ll likely want a dedicated lifting platform area rather than relying on floor tiles alone.
How Rubber Tiles Protect Your Subfloor (and Reduce Impact Noise)
In a garden gym room, your subfloor might be OSB, plywood, chipboard, or another engineered board. Each has vulnerabilities: even concrete can crack at weak points and transmit vibration; timber-based subfloors can flex, squeak, or become damaged if moisture gets in.
Rubber tiles protect the subfloor in three main ways:
1) They absorb impact and spread loads
When you set down a kettlebell or move a heavy bench, rubber reduces point pressure. This helps prevent dents in softer subfloors and reduces scuffing.
2) They reduce abrasion
Dragging equipment (even carefully) can chew up paint, resin coatings, or timber-based floors. Rubber takes the wear instead.
3) They act as a buffer against minor moisture and dirt
Sweat happens. Rubber is easier to keep sanitary than bare timber or carpet, and it helps keep small spills away from the subfloor. (It doesn’t replace proper moisture control — you still need a well-built room and good ventilation, but it’s a helpful layer.)
A note on noise and vibration
Rubber tiles mainly help with impact noise (footfall, dumbbells being put down) and some vibration transfer. They won’t fully stop airborne noise (shouting, music) and they won’t magically make heavy drops neighbour-proof. If noise is a major concern, you typically need a combination of:
thicker flooring or a platform in lifting zones
correct underlay/decoupling (where appropriate)
attention to door seals and airtightness
sensible equipment placement (e.g., lifting away from the boundary side)
But as a baseline, rubber tiles are one of the simplest upgrades you can make for a quieter, more comfortable gym.
How to Clean Rubber Gym Tiles (and Get Rid of Rubber Smell)
Rubber is low maintenance, but it does benefit from a proper routine, especially in a sweaty environment.
Weekly cleaning (simple and effective)
Dry sweep or vacuum first
Grit acts like sandpaper. Removing it prevents scuffs and keeps the floor looking new.Mop with warm water and a mild detergent
Use a small amount of washing-up liquid or a pH-neutral floor cleaner. Avoid harsh chemicals and bleach, which can damage some rubber finishes and leave a residue.Rinse (especially if the floor feels tacky)
If you use too much product, rubber can feel slightly sticky. A clean-water rinse usually fixes this.Let it dry properly
In a well-ventilated gym, it’ll air dry quickly. If the room is sealed up, open windows/vents or run extraction to avoid lingering moisture.
Making sure you have the correct climate control & ventilation in a home gym is very important when keeping gym tiles dry odour free.
Deep clean (monthly or as needed)
Use a soft brush for textured tiles to lift dirt from the grain
Spot-clean sweat marks or scuffs with a cloth and mild cleaner
Avoid oil-based products that can leave slippery patches
Reducing rubber odour
New rubber tiles can smell, particularly recycled rubber. To minimise it:
Air the tiles out before installation if possible
Ventilate the room well during the first couple of weeks
Clean once after installation (a mild wash and rinse can help)
Avoid sealing the space up immediately
The smell usually fades. If it doesn’t, it’s often a sign that the tiles are low quality or have been stored poorly.
Read our full guide on how to clean rubber gym tiles to make sure you do it correctly.
Common Mistakes to Avoid When Installing Rubber Gym Tiles
A rubber floor can look and feel brilliant, but a few avoidable mistakes can ruin the finish.
1) Installing on an uneven subfloor
Rubber tiles follow the surface beneath. High spots can create rocking; low spots can create gaps. If the subfloor isn’t reasonably flat, level it first.
2) Not acclimatising the tiles
Rubber can expand and contract slightly with temperature. If you install tiles straight from a cold delivery van into a warm room, you can end up with gaps later. Leave them in the room for a day or so to acclimatise before laying.
3) Choosing the wrong thickness for your training
Too thin and you’ll feel every drop, and you won’t get much noise reduction. Too soft and heavy equipment can feel unstable. Match thickness to use, and consider a platform for heavy lifts.
4) Forgetting expansion gaps at walls
Rooms move slightly with temperature and humidity. Leaving a small gap at the perimeter (covered by skirting or trim) helps prevent tiles buckling.
5) Not planning the layout around key zones
Decide where lifting happens, where cardio machines go, and where you’ll stretch. Your floor can then support your routine — for example, thicker tiles or a platform in the lifting zone, and a more open, grippy area for functional training.
If you’re investing in a proper garden gym room, it’s worth choosing a professional company like My Outhouse to design and install it, so you get the right tiles, a correct fit, and a building specification that performs properly for years to come.