


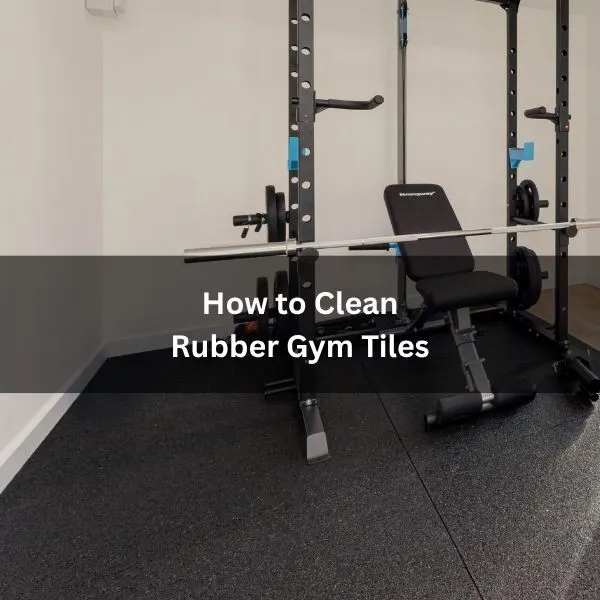
Rubber gym tiles are built to take a beating, but without proper cleaning, they quickly lose grip, hygiene, and longevity. Our detailed guide on how to clean rubber gym tiles should help you maintain the floor in your home gym. You’ll start by removing grit with a vacuum or soft-bristle broom, then mop with warm water and a mild detergent, but never saturate the tiles. If the surface feels tacky, rinse with clean water. Let it dry fully before traffic returns. For stubborn buildup, a monthly deep clean makes the difference, but only if you avoid the most common mistake.
1) Dry sweep or vacuum first
Start by removing loose grit with a dry sweep or a vacuum. Grit acts like sandpaper on rubber, so clearing it first prevents scuffs and keeps tiles looking new.
Use a soft-bristle broom for smooth tiles and a microfiber dust mop for larger areas. For textured tiles, sweep in two directions to lift debris from the grain.
If you vacuum, fit a hard-floor head without a spinning brush to avoid abrasion. Work methodically: edges and corners first, then lanes across the room. Move equipment slightly and clear underneath high-traffic zones like racks and bike stations.
Empty dust trays or replace vacuum bags before starting; full containers push dirt around.
Check for stubborn particles like chalk, soil, and metal shavings from plates and then spot-lift them with a handheld vacuum or a damp microfiber cloth.
Finish with a quick visual scan. A clean, grit-free surface sets you up for the rest of the routine and speeds everything that follows.
Pro Tip: Make sure you also clean your weights & dumbbells to ensure you are not putting sweaty equipment back on top of your nicely cleaned mats.
2) Mop with warm water and a mild detergent
With the grit gone, fill a bucket with warm water and add a small squirt of washing-up liquid or a pH‑neutral floor cleaner. Mix gently to avoid excess suds.
Dip a clean microfiber mop, wring it well, and work in small sections. Keep the mop just damp, as rubber gym tiles don’t need soaking. Glide with steady, overlapping passes to lift sweat film and fine dust.
- Use a microfiber flat mop for smooth tiles; switch to a soft-bristle deck brush for lightly textured areas, then follow with the damp mop.
- Refresh the bucket if the water turns cloudy; a dirty solution just redistributes grime.
- Spot-treat stubborn marks with a cloth lightly moistened in the same solution, using small circular motions.
Avoid bleach, solvent, or high-alkaline products as they can dull finishes and leave residue. Don’t overdo detergent; a tiny amount cleans effectively.
Keep footwear off the area while you mop so footprints don’t track dirt back onto freshly cleaned tiles.
3) Rinse (especially if the floor feels tacky)
If the surface feels slightly sticky after mopping, do a quick rinse to lift leftover soap. Fill a bucket with clean, warm water. Swap in a clean mop head or thoroughly rinse the one you used with detergent. Wring it well so you’re not flooding seams.
Work in sections: damp-mop the tiles with plain water, then immediately go over the same area with a well-wrung pass to pick up loosened residue.
If the floor still feels tacky, refresh the bucket and repeat once. For stubborn film, add a splash of white vinegar to the rinse (about 1 cup per gallon) to help break down detergent without harming rubber. Avoid bleach, solvent cleaners, or anything oily.
Pay extra attention to high-traffic lanes and around racks where sweat and cleaner can build up.
Finish by removing any puddles with a microfiber cloth. Keep foot traffic off until the surface no longer feels slick to the touch.
4) Let it dry properly
After rinsing, let the tiles dry completely before anyone walks on them. Water trapped on rubber attracts dust, creates slick spots, and can seep between seams. In a well‑ventilated gym, they’ll air dry quickly.
If your space feels humid or sealed up, add airflow to speed things up and prevent lingering moisture.
- Open windows or vents to create cross‑breezes. If there’s no natural airflow, run an extraction or a bathroom‑style exhaust fan.
- Use floor fans or a box fan set low and angled across the surface. Keep air moving until the tiles look uniformly matte, not glossy.
- If you must speed things further, towel‑dry puddles and edges, then let fans finish the job. Don’t use heat guns or space heaters.
Keep foot traffic off the floor until it’s dry to the touch. Check seams and low spots last.
Before reopening, do a quick walk test in clean socks to confirm there’s no tackiness or dampness.
Deep clean (monthly or as needed)
Even when you mop weekly, grime settles into seams and texture, so plan a deeper clean every month or whenever the floor looks dull.
Start by clearing the area and dry sweeping or vacuuming to remove grit. Mix warm water with a pH‑neutral floor cleaner. Don’t use bleach, harsh chemicals, or oil‑based products as they can damage rubber and leave slippery residue.
Work in sections. For smooth tiles, use a microfiber mop. For textured tiles, scrub gently with a soft brush to lift dirt from the grain.
Re-wet stubborn spots, then spot-clean sweat marks or scuffs with a cloth and mild cleaner. Rinse each section with clean water to remove leftover product and prevent tackiness.
Extract excess water with a dry mop or towels. Let the floor air dry fully with good ventilation before reopening the area.
Inspect seams and edges; wipe any trapped grime. Keep shoes off until they’re completely dry.
Conclusion
Stick to this routine, and your rubber tiles will stay grippy, clean, and long‑lasting. Picture Saturday after a sweaty HIIT class: you vacuum up chalk and crumbs, mop with warm water and mild detergent, rinse tacky spots, then let fans run while you stretch. By the next morning, the floor’s dry, no residue, and traction’s back. Do a deeper clean monthly – scrub seams and high‑traffic zones, and you’ll prevent odours, stains, and premature wear while keeping workouts safe and sharp.
For a full routine, follow this home gym room cleaning guide.